


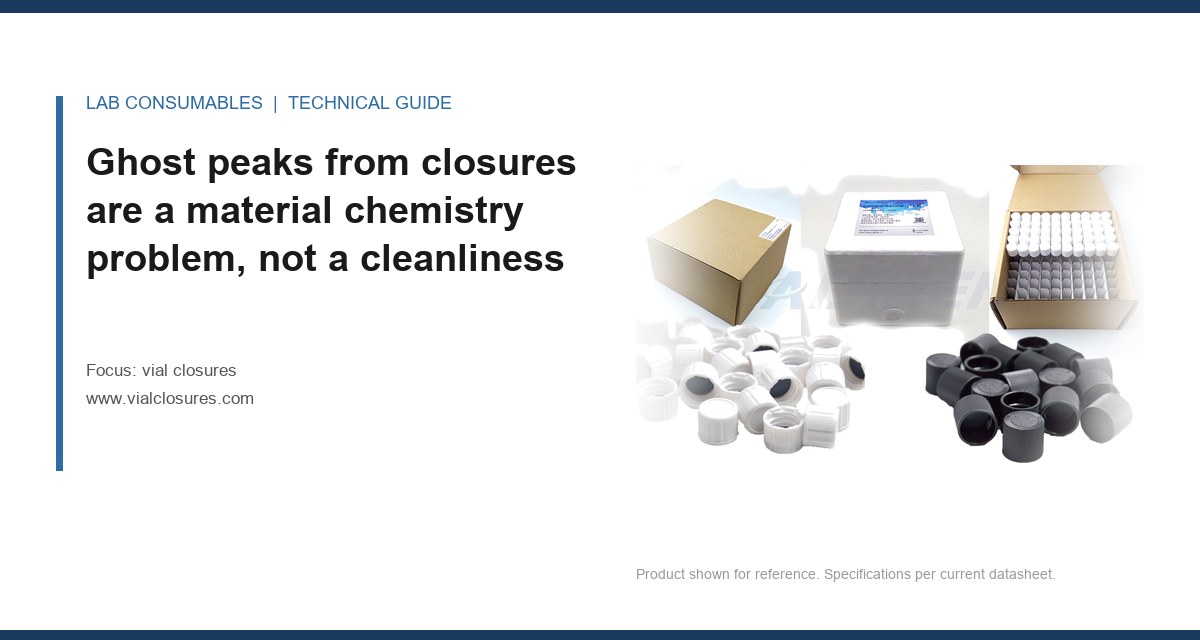
A 40 °C GC-MS run of a method blank came back with siloxane peaks at m/z 73, 207, 281 and a phthalate at m/z 149 that had not been there in the previous 200 injections. The instrument had just had a new column installed. The column was fine. The autosampler tray had been reloaded with vials from a different lot, and the septa in that lot had been molded with a higher peroxide cure load than the previous shipment. The vial closures ghost peaks were coming from the septum, not the column, and it took a blank injection series to prove it. This article is about how to find that source, which compounds bleed from which material at which temperature, and how to separate a closure problem from an instrument problem with blank and placebo injections you can defend in a data review.
Ghost peaks from closures are a material chemistry problem, not a cleanliness problem
Most people who chase contamination go straight to washing. They rinse the vial, they bake the septum, they buy a more expensive solvent. That is the wrong first move. A closure is an assembly of three materials (glass, elastomer, and often a thin polymer film), and each one contributes a different set of extractables. The compounds that show up as ghost peaks are not dirt. They are formulation residues, curing by-products, and low-molecular-weight oligomers that migrate into the headspace or into the solvent depending on how the vial is used and how hot it gets.
I separate the problem into two physical paths. In a headspace or a heated sample, volatile and semi-volatile species partition into the gas phase and land on the column. In a direct injection, the solvent contacts the septum during sampling and extracts whatever is soluble. The same closure can fail both ways, but the fix and the diagnostic are different. If you are running headspace, the septum is the primary suspect. If you are running direct injection with a needle that punches the same spot, the septum and the PTFE facing are both in play.
The reason this matters to a procurement decision is that the closure is the cheapest component in the workflow and the one with the widest material variability. Two lots of the same catalog number can differ in extractables by an order of magnitude if the molder changed cure conditions or the compounder changed the filler. You cannot see that on a certificate of analysis that reports hardness and dimensions only. You find it with a blank injection series, and you find it before the method fails an audit.
Which compounds bleed from which material, and at what temperature
The table below is the working map I use. It is not exhaustive, but it covers the species that show up in my ghost-peak investigations most often. The temperature column is the point at which the bleed becomes obvious in a blank run, not the point at which it starts. Bleed is continuous; what changes with temperature is the rate and the abundance.
| Material | Characteristic ions / compounds | Temperature where bleed becomes obvious | Typical source |
|---|---|---|---|
| Bromobutyl or chlorobutyl septum | m/z 73, 207, 281 (siloxanes), sulfur fragments m/z 64, 76, brominated species | Above 60 °C headspace; above 80 °C in direct injection with extended needle dwell | Vulcanization residues, silicone mold release, residual cure agents |
| Silicone (PDMS) septum | m/z 73, 147, 207, 221, 281, cyclic siloxanes D3 to D6 | Above 40 °C; strong above 100 °C | Uncured low-molecular-weight PDMS, depolymerization at temperature |
| PTFE-faced septum (film side) | Fluorocarbon fragments, low-level m/z 69, 119, 131 | Above 200 °C only; negligible below | Film degradation at extreme temperature; usually a non-issue |
| PTFE-faced septum (adhesive layer) | m/z 149 phthalates, m/z 57, 71, 85 aliphatic hydrocarbons | Above 50 °C; solvent contact at any temperature | Tie-layer adhesive between film and elastomer |
| EPDM septum | m/z 57, 69, 83, 97 (terpene and paraffinic fragments), antioxidants m/z 219, 277 | Above 70 °C | Process oils, cure accelerators, phenolic antioxidants |
| Polypropylene cap | m/z 57, 69, 83, 97, 111, 125 (oligomer series) | Above 80 °C | Low-molecular-weight oligomers, slip agents, erucamide m/z 337 |
| Butyl rubber (unhalogenated) | m/z 55, 69, 83, isobutylene oligomers | Above 90 °C | Backbone oligomers, residual monomer |
A few rules fall out of this. Silicone is the worst offender at low temperature and the easiest to misdiagnose because the m/z 73 and 207 pattern looks like a column bleed signature. If you see siloxanes and your column is new, do not blame the column. Run a blank with no vial and a blank with a vial and compare. If the vial blank shows the siloxanes and the no-vial blank does not, the closure is the source. I have seen a lab replace two columns before anyone ran that comparison.
The PTFE film is often described as inert and it is, but the film is not the whole story. The adhesive that bonds the film to the elastomer is the weak link. At 50 °C and above, and in any direct-injection method where solvent wicks under the film edge, that adhesive layer releases phthalates and aliphatic hydrocarbons. This is why a “PTFE-lined” septum can still produce a phthalate ghost peak. The lining protects the sample from the rubber; it does not protect the sample from the glue holding the lining on. For a deeper look at how the facing interacts with the elastomer, the vial closures reference material is worth reading alongside this piece.
How to isolate the source with blank and placebo injections
The diagnostic is a sequence, and the order matters. Do not start with a full method blank. Start with an instrument blank (no injection, just the column at temperature) to establish the baseline. Then move up one variable at a time. The whole sequence takes about two hours and it will save you a week of guessing.
Step 1: instrument blank and system suitability
Run the column at your method’s final hold temperature with no injection. Any siloxane peaks here are column bleed or inlet contamination, not closures. If the instrument blank is clean, you have eliminated the column and the inlet. If it is not clean, fix that first, because you cannot attribute peaks to a closure when the system is already bleeding.
Step 2: solvent-only blank, no vial
Inject your diluent directly from a sealed ampoule or a freshly opened bottle, no vial involved. This catches solvent impurities and needle carryover. If this blank is clean, the solvent is not the problem.
Step 3: solvent in a vial with the suspect closure
Now put the same solvent in a vial, cap it with the closure lot under investigation, and let it sit at the method’s equilibration temperature for the full cycle time. Inject. This is the blank that isolates the closure. Compare the peak pattern to the table above. Siloxanes at m/z 73 and 207 point to the septum. Phthalates at m/z 149 point to the adhesive or to a plasticizer in the cap. Oligomers at m/z 57, 69, 83 point to polypropylene or EPDM.
Step 4: placebo injection with a matched closure
The placebo is the same matrix without the analyte, capped with a closure from a known-good lot. Run it beside the suspect lot. If the placebo with the good lot is clean and the placebo with the suspect lot is not, you have your answer and you have it in a form that survives a data review. The analytical testing community calls this a matrix blank comparison; in practice it is the only defensible way to attribute a ghost peak to a consumable.
Step 5: temperature ramp to find the threshold
If you need to know how hot you can run before the closure becomes the limiting factor, repeat step 3 at 40, 60, 80, and 100 °C. Plot the abundance of the m/z 73 or m/z 149 ion against temperature. The curve is not linear; there is a knee where the rate jumps. That knee is your practical ceiling for that lot. I have seen butyl septa that were clean at 60 °C and unusable at 85 °C, and the difference was a cure formulation change the supplier never mentioned.
One operational note. The needle gauge and the puncture count per septum affect how much surface area is exposed to the headspace. A 23-gauge needle punching a 10 mm septum leaves a larger opening than a 26-gauge, and after 50 punctures the septum is a sieve. If your ghost peaks appear only after the tray has been sitting for hours, the puncture count is part of the story. Cap the number of punctures per septum at 50 to 100 for headspace work and change septa between runs if the method is sensitive. The chromatography vial selection guidance covers needle compatibility in more detail.
Two field cases where the closure was the source
Case 1: the phthalate that only appeared on Mondays
A contract lab running EPA method 8270 on soil extracts kept seeing a phthalate at m/z 149 in the method blank, but only in runs started on Monday morning. The Friday runs were clean. The measurement that identified it: they ran the step-3 blank at 25 °C and at 40 °C. At 25 °C the phthalate was below the reporting limit. At 40 °C it appeared at roughly 0.4 mg/L equivalent. The closures were stored in an unheated loading dock over the weekend; the Monday runs used vials that had been capped on Friday and left in a tray on top of a warm GC. The fix was to cap vials within 30 minutes of analysis and store capped vials at 4 °C, not at ambient. The closure was not defective. The handling was. The U.S. EPA SW-846 test methods set the container requirements but they do not tell you to keep capped vials cold, and that omission cost the lab three weeks of rework.
Case 2: the siloxane that looked like column bleed
A pharmaceutical QC lab running a residual solvents method on a headspace GC saw m/z 73 and 207 peaks that grew through the run and looked exactly like column bleed. They had just installed a new column, so the column got the blame. The measurement that identified it: they ran an instrument blank (no vial) and a vial blank side by side. The instrument blank was clean. The vial blank showed the siloxanes, and the abundance tracked the septum lot number, not the column. The septa were silicone, not butyl, and the method’s 90 °C headspace oven temperature was above the silicone’s practical ceiling. The fix was a butyl septum with a PTFE facing rated to 100 °C, and the ghost peaks dropped below the detection limit. The lesson: silicone septa are for low-temperature work. Above 60 °C, use butyl or a faced septum, and verify with a blank series before you trust the lot.
A closure contamination checklist you can run at the bench
- Confirm the peak pattern. Match the ions to the table above before you touch anything. m/z 73/207/281 is siloxane. m/z 149 is phthalate. m/z 57/69/83 is hydrocarbon or oligomer.
- Run the instrument blank first. No vial, no injection. If it is dirty, stop and fix the system.
- Run a solvent-only blank. Fresh bottle, no vial. Catches solvent and needle contamination.
- Run a vial blank with the suspect lot. Same solvent, same temperature, same cycle time as the method.
- Run a placebo with a known-good lot. This is the comparison that attributes the peak to the closure.
- Ramp the temperature. 40, 60, 80, 100 °C. Find the knee. Set your method below it with margin.
- Check the puncture count. Cap at 50 to 100 punctures per septum for headspace. Count them; do not guess.
- Check storage and handling. Capped vials at ambient for hours will extract more than capped vials at 4 °C. This is a handling fix, not a product fix.
- Verify the lot against the certificate. Ask for extractables data, not just hardness and dimensions. If the supplier cannot provide it, that is a finding.
For method development and consumable selection, the vendor technical libraries are useful for cross-checking ion patterns and temperature limits. Agilent’s GC columns and accessories documentation, Thermo Fisher’s chromatography and sample handling pages, and Restek’s technical resources all publish bleed and extractables guidance that is worth reading before you set a headspace temperature. For the vial itself, the HPLC vial manufacturing notes cover glass and cap tolerances that affect how well the septum seals and how much headspace volume you actually have.
What to specify so the next lot does not ghost
Specify the septum material by temperature, not by trade name. For headspace work above 60 °C, specify a butyl septum with a PTFE facing and ask for the extractables profile at your method temperature. For direct injection below 40 °C, a silicone septum with a PTFE facing is acceptable if the adhesive layer is verified. For anything above 100 °C, the closure is not the right tool; move to a different sample introduction approach. Specify a maximum puncture count and a storage temperature on the method sheet, and put the blank injection series in the method validation package so the next analyst knows how to re-run it. The GPI 13-425 and GPI 15-425 thread standards tell you the cap will fit; they tell you nothing about what the septum will release. That is a separate specification, and it is the one that decides whether your blank stays clean.
The decision rule is simple: attribute a ghost peak to the closure only when the instrument blank is clean, the solvent blank is clean, and the vial blank with the suspect lot shows the peak while the placebo with a known-good lot does not. If all three conditions hold, replace the lot and add the extractables spec to your incoming inspection. If they do not hold, the closure is not your problem and you should keep looking.
References & further reading
Related resources from our lab consumables network:
- Vial Closures at vialclosures.com
- Analytical Testing at labanalyticaltesting.com
- Chromatography Vial at chromvials.com
- Hplc Vial at hplcvialfactory.com
External references and standards: