


A lot of 1,860 vials came off a line in week 12 with closures that torqued to spec on the capper and still leaked at 40 kPa in the dye test. The torque head was fine. The problem sat four stations upstream: a drying tunnel zone 2 setpoint had drifted 11 °C high, and the silicone laminate on that lot had cross-linked harder than the seal design allowed. Nobody caught it because the tunnel thermocouple was read once per shift and the leak test only ran at the end of the lot. That is the whole argument of this article in one paragraph: how vial closures are manufactured and what the factory actually controls on the line is a question about which parameters are held closed-loop and which are only inspected after the fact. Those two categories behave very differently when something goes wrong.
I have run lines that make vial closures in 13 mm, 20 mm, and 11 mm formats, and I have audited a dozen more. The stations are similar everywhere. What separates a good factory from a mediocre one is the control architecture: what gets a sensor, what gets a feedback loop, what gets a chart recorder, and what gets a person with a go/no-go gauge at the end of the shift. Below is the station map I use when I walk a line, with the parameters that matter at each one and an honest note on whether they are controlled or merely checked.
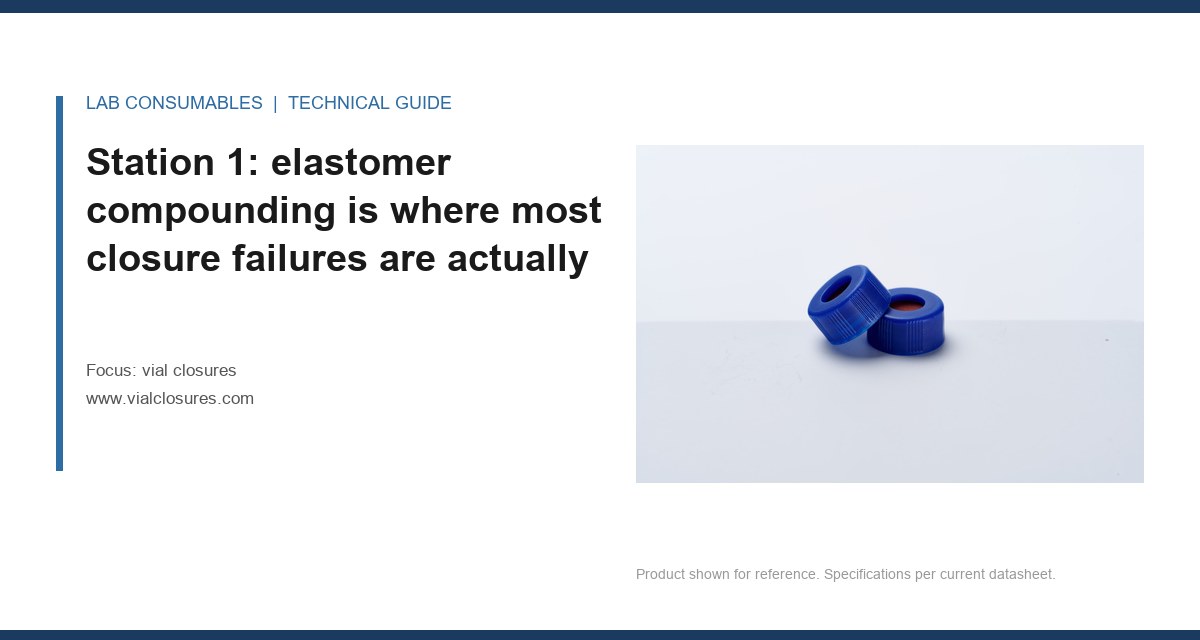
Station 1: elastomer compounding is where most closure failures are actually born
The closure starts as a batch of compounded elastomer, and this station is where the factory has the most leverage and the least visibility. A butyl or bromobutyl formulation is mixed in a two-roll mill or an internal mixer, and the parameters that matter are dump temperature, mixing time, and the cure system. For a pharmaceutical-grade bromobutyl stopper, the compound is typically dumped at 110 to 130 °C with a Mooney viscosity target held within a few units. The factory controls dump temperature closed-loop on the mixer. What it usually does not control in real time is the dispersion quality of the filler and the cure package, which is a batch property measured later on a moving-die rheometer (MDR) as a cure curve.
That MDR curve, run at 160 °C or 180 °C depending on the formulation, gives you t10, t90, and delta torque. Those are the numbers that predict whether the molded part will have the right hardness and compression set. The factory checks them per batch, not per part. This is the first place where the distinction between controlled and checked matters: a bad compound batch can pass every downstream station and only reveal itself months later as a leak or a coring problem.
What gets a closed loop here
- Mixer dump temperature: closed-loop, typically ±3 °C.
- Mixing time and rotor speed: recipe-driven, logged.
- Cure curve (MDR t90, delta torque): checked per batch, not per part.
- Filler dispersion: checked by batch, often by a lab sample, sometimes skipped on high-volume runs.
Station 2: injection molding sets the geometry that every downstream station inherits
The compounded elastomer goes into a multicavity injection press, often 32 to 64 cavities for a 13 mm stopper, and this is where the factory has the tightest control and the most sensors. Cavity pressure, mold temperature, injection speed, and cure time are all closed-loop on a modern press. Mold temperature for a bromobutyl stopper typically runs 175 to 185 °C, held to ±2 °C across the platen. Cure time is set from the MDR t90 with a safety margin, often t90 plus 30 to 60 seconds.
The parameter that gets less attention than it deserves is cavity-to-cavity balance. A 48-cavity mold with a 4 °C spread across the platen will produce parts with measurably different hardness and different compression set, and those differences show up as a leak rate that varies by cavity position. I have seen a line where cavities 1 through 8 ran 2 Shore A harder than cavities 41 through 48, and the leak failures clustered on the soft end. The fix was a platen temperature survey with a contact probe at 16 points, then a re-shim of the mold. That survey is a checked parameter, run quarterly, not a controlled one.
Dimensional control at this station is where the chromatography vial customer feels the consequences first. The critical dimensions on a stopper are the plug diameter, the flange diameter, and the plug length. On a 13 mm stopper these run roughly 7.3 to 7.6 mm plug diameter and 13.0 to 13.3 mm flange, with the plug length set by the vial neck depth. The factory measures these on a vision system or an optical comparator, usually on a sample per cavity per shift. That is a check, not a control. If the mold wears or a cavity plugs, you find out at the sample, not at the part.
Station 3: the laminating and coating step is where the seal performance is decided
Most modern vial closures carry a laminated film on the product-contact face: PTFE, ETFE, or a silicone-PTFE composite. The film is applied either as a pre-formed disc inserted in the mold or as a laminated sheet bonded to the molded part. The parameters that matter are film thickness (typically 0.05 to 0.20 mm depending on the film), bond strength, and the absence of pinholes. Film thickness is checked by micrometer on a sample. Bond strength is checked by a peel test. Pinholes are checked by a spark or dye test on a sample.
None of these are closed-loop. The laminating station is a process with a temperature and pressure setpoint, but the quality attributes are all end-of-batch checks. This is the station where I would spend my audit time if I could only pick one. A pinhole in a PTFE laminate is invisible to the eye and shows up as an extractable or a coring failure six months later. The factory that controls this station runs a 100% spark test inline on the laminated web. The factory that checks it runs a sample every 500 parts. Ask which one you are buying from.
Comparison: which stations are controlled versus checked
| Station | Key parameter | Typical setpoint | Control mode |
|---|---|---|---|
| Compounding | Dump temperature | 110 to 130 °C, ±3 °C | Closed-loop |
| Compounding | Cure curve (t90) | Per formulation | Checked per batch |
| Molding | Mold temperature | 175 to 185 °C, ±2 °C | Closed-loop |
| Molding | Cavity balance | Within 2 °C | Checked quarterly |
| Molding | Plug/flange dimensions | 7.3 to 7.6 mm plug | Checked per shift |
| Laminating | Film thickness | 0.05 to 0.20 mm | Checked per sample |
| Laminating | Pinholes | Zero | Inline spark (best) or sample |
| Washing | Endotoxin, particulates | Per USP <788> | Checked per lot |
| Drying | Zone temperature | Per profile, ±5 °C | Closed-loop (if instrumented) |
| Inspection | Visual defects | AQL per plan | Checked, often 100% vision |
Station 4: washing and depyrogenation is the station most often run open-loop
For a ready-to-sterilize or ready-to-use closure, the washing and depyrogenation train is where the factory’s control discipline gets tested. The wash train typically runs a series of tanks with filtered water and a final rinse in water for injection. The depyrogenation tunnel runs at 250 °C or higher for a validated dwell, and the standard for the cycle is a 3-log reduction in endotoxin per USP <1228>. The tunnel is controlled on temperature, but the actual depyrogenation is a function of temperature, time, and the bioburden and endotoxin load going in.
Here is the uncomfortable truth: the tunnel temperature is closed-loop, but the endotoxin load on the incoming parts is a checked parameter at best. A factory that runs a validated cycle and checks endotoxin on a sample per lot is doing what the standard requires. A factory that also monitors the bioburden on incoming molded parts is doing more than the standard requires. The difference shows up when a lot fails and you are trying to trace why. If the only data you have is “tunnel was at temperature,” you have no way to separate a bad wash from a bad tunnel from a bad incoming lot.
The washing station is also where the HPLC vial customer’s extractables profile is set. Residual mold release, residual washing surfactants, and residual endotoxin all come from this station. The parameters that matter are rinse water conductivity (typically <1.3 µS/cm at 25 °C for WFI), final rinse volume, and the dwell time in each tank. Conductivity is usually closed-loop on the WFI loop. Final rinse volume is often set by a flow meter but not alarmed. Dwell time is set by line speed, which means it is controlled only if the line speed is.
Station 5: inspection and the end-of-line checks that carry the whole quality story
By the time the closure reaches inspection, most of the quality is already baked in. The inspection station is where the factory finds out what happened, not where it changes it. A modern line runs a vision system for cosmetic defects (flash, short shots, laminate wrinkles, contamination) at line speed, often 100% inspection on a 13 mm line running 400 to 600 parts per minute. Dimensional checks run on a sample. Functional checks (leak, penetration, coring) run on a sample per lot.
This is the station where the difference between controlled and checked is starkest. A vision system that rejects a part is a control. A leak test on 30 parts from a 50,000-part lot is a check. The analytical testing lab that runs the leak and penetration tests is doing important work, but it is sampling, not controlling. If you want to know how a factory really controls its line, ask what happens when a sample fails. The good answer is a hold, a trace to the station, and a corrective action on the parameter. The bad answer is a re-test.
Field case 1: the leak that traced to a drying tunnel
The opening scene: 1,860 vials leaking at 40 kPa. The measurement that identified it was a differential scanning calorimetry (DSC) run on the silicone laminate from the failed lot versus a retained good lot. The failed lot showed a cure exotherm shifted 11 °C higher, which matched the tunnel zone 2 drift. The fix was a re-validation of the drying profile, a second thermocouple in zone 2 wired to the alarm, and a change to the leak test from end-of-lot to per-pallet. The torque head was never the problem, but it was the first thing everyone checked.
Field case 2: the coring failure that was a molding problem
A customer reported coring on a 20 mm butyl stopper at a puncture count of about 40, well below the 100-plus the design should take. The measurement that identified it was a plug diameter survey across cavities: cavities 12 and 13 ran 0.15 mm undersized, which let the needle wander and tear the plug instead of piercing it cleanly. The fix was a mold insert replacement on those two cavities and a change to the per-shift dimensional check from a single sample to a per-cavity rotation. The coring test had been passing because it sampled the good cavities.
What to ask a factory before you trust its control story
When I audit a line, I ask for four things and I time the answers. A factory that controls its line can produce them in an hour. A factory that checks its line takes a day and comes back with a lot of PDFs.
- Control charts, not just certificates. Ask for the last 30 days of mold temperature and tunnel temperature charts. If they only have certificates of analysis, the parameters are checked, not controlled.
- Alarm logs. Ask what alarms fired in the last month and what was done. A factory with no alarms either has a perfect line or an unmonitored one.
- Cavity traceability. Ask whether a finished part can be traced to a cavity. If not, every failure investigation starts from zero.
- Change control on the compound. Ask what happens when a raw material supplier changes. A closed-loop line will have a re-validation record. A checked line will have a new COA and a shrug.
The standards you should cite when you ask are U.S. EPA SW-846 for the analytical methods your lab will use on the closure extracts, USP <381> for the elastomer and <788> for particulates, and ISO 8362-2 for the closure dimensions themselves. For the chromatography side, the Agilent consumables reference and the Thermo Fisher chromatography library are where I send people who want to understand what a closure extract actually does to a column. The Restek technical resources are good on the same subject from the column side.
The decision rule I use when specifying a closure line
If a parameter can fail silently and only show up in the customer’s lab, it needs a closed loop or a 100% inline check. If it fails loudly and shows up at inspection, a sample check is fine. Drying tunnel temperature, laminate pinholes, and cavity dimensional drift are the three that fail silently. Torque, visual defects, and final leak are the three that fail loudly. Spend your audit time on the first three.
For a 13 mm or 20 mm pharmaceutical closure, I would not accept a line that runs the drying tunnel on a single thermocouple read once per shift, or a laminating station without a 100% spark test, or a molding press without per-cavity dimensional data. Those are the parameters that decide whether the closure works at 40 kPa and 100 punctures, and they are the ones most often left to a sample. The rest of the line is usually fine. The failures I have dealt with were almost never at the station everyone was watching.
References & further reading
Related resources from our lab consumables network:
- Vial Closures at vialclosures.com
- Analytical Testing at labanalyticaltesting.com
- Chromatography Vial at chromvials.com
- Hplc Vial at hplcvialfactory.com
External references and standards: