

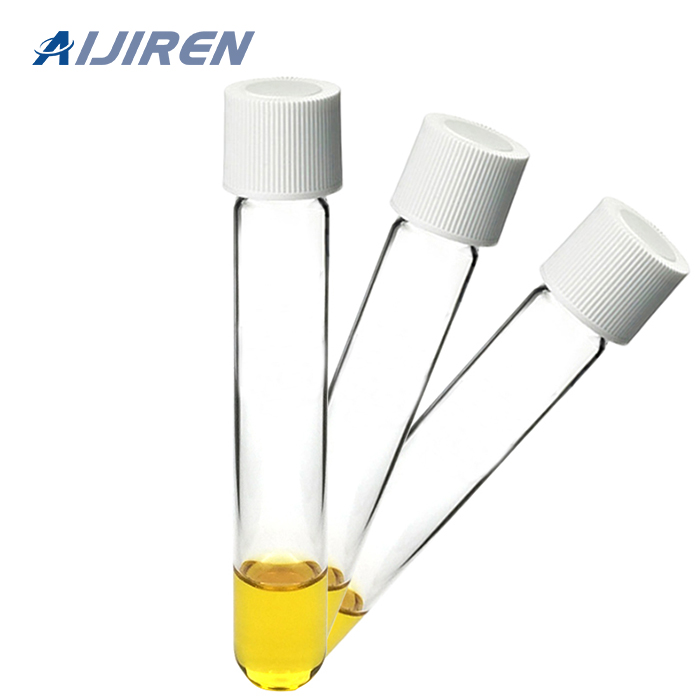
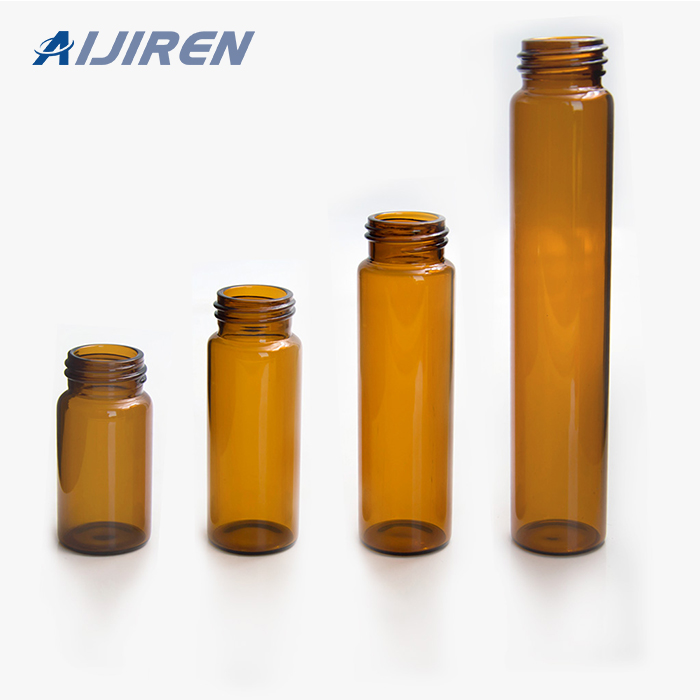
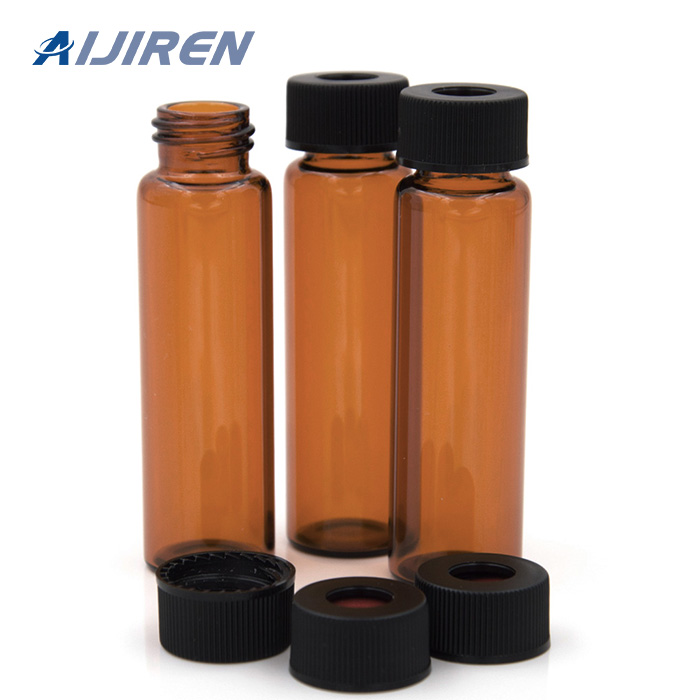
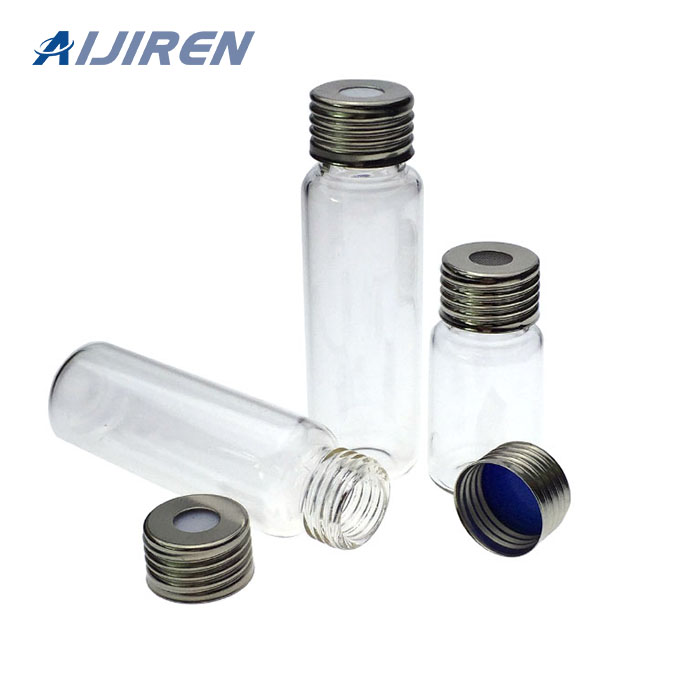

A 2 mL glass vial that mated perfectly with the Agilent 7693A autosampler on Monday threw a needle fault at position 47 on Tuesday, and the cause was a cap lot whose outside diameter ran 0.4 mm over nominal. The vial body was fine. The septum was fine. The cap was a millimeter-class problem in a micrometer-class interface, and nothing in the certificate of analysis flagged it. That is the reality of matching vial closures to an autosampler or inlet: the instrument only cares about a handful of dimensions, but it cares about them absolutely, and the tolerance bands are tighter than most buyers assume.
This guide is about those dimensions and how to verify them against a named instrument before you commit to a lot. If you are still choosing between polymers, or comparing price tiers, or qualifying a new supplier, those are separate decisions covered elsewhere. Here the question is purely dimensional: does this closure, on this vial, present the right geometry to this autosampler tray, this gripper, and this inlet?
Vial closures size compatibility with a specific autosampler or inlet comes down to four measurements. I check all four on every new lot. Any one of them out of band produces a distinct failure signature, which is the useful part: the symptom tells you which dimension moved.
Outside diameter (OD) of the assembled cap
This is the dimension that governs tray and gripper behavior. A standard 11 mm crimp or 9 mm screw cap sits in a tray pocket or a carousel nest machined to a nominal bore. On the Agilent 7693A and the older 7683, the tray pockets are sized so the vial drops in with a small clearance. When the assembled cap OD exceeds the pocket bore by more than a few tenths of a millimeter, the vial rides high in the pocket. The gripper then closes on the cap skirt instead of the vial neck, or the needle guide misaligns by the height it failed to seat. I have seen a 0.3 mm oversize cap produce intermittent “vial not found” errors that only appeared on the outer ring of the tray, because that ring had the tightest pockets after years of wear.
Measure assembled OD with a digital caliper across the widest point of the cap skirt, not the septum retainer. Take ten caps from the lot, not one. The spread matters as much as the mean.
Assembled height
Height controls two things: whether the vial clears the tray lid, and where the needle guide sits relative to the septum. A crimp cap that seats too high because the crimp was set shallow leaves the septum sitting proud by 0.5 to 1 mm. On a fixed-height needle guide that is enough to change penetration depth into the septum, and on a robotic arm with a force-limited push it is enough to trigger a short-stroke error. Screw caps are less sensitive to height because the thread defines seating, but a cap with a tall center boss can foul the guide on instruments with tight overhead clearance.
Neck finish and thread engagement
For screw-thread closures, the neck finish is the controlling spec. A 9 mm short-thread screw vial and a 9 mm long-thread vial are not interchangeable on every instrument, and neither is a 10-425 cap on a 9 mm neck. The thread pitch and the number of turns to seat determine where the septum lands. Get this wrong and you get a cap that looks seated but leaks, or one that bottoms out before the septum compresses. I keep a thread gauge on the bench and check the first article of every lot against the drawing. For crimp finishes, the neck ring diameter and the position of the crimp groove are what the crimper jaw closes on; a neck ring 0.2 mm under nominal gives a loose crimp that passes a visual check and fails a leak test.
Insertion depth and septum position
This is the dimension people forget. The needle has to pass through the septum, cross the headspace or the liquid surface, and reach the sample without touching the vial bottom or bending against the wall. The septum seat depth sets where the needle enters. A closure whose septum sits 0.5 mm deeper than the instrument expects changes the effective needle length. On a 10 µL syringe with a fixed needle, that is 0.5 mm of lost reach, and on a short 150 µL insert vial it can be the difference between sampling liquid and sampling air. This is where closure geometry and chromatography vial insert design have to be checked together, not separately.
Verifying each dimension against a named instrument
You cannot verify compatibility in the abstract. Pick the instrument and get its published tray, gripper, and needle-guide geometry. Then measure your closures against those numbers.
Agilent 7693A and 7683 autosamplers
These are the workhorses, and their tray and gripper geometry is well documented in the Agilent consumables catalog and instrument manuals. The 7693A tray pockets accept standard 11 mm crimp and 9 mm screw vials within a defined clearance. When I qualify a new cap lot for a 7693A, I measure assembled OD, assembled height, and crimp or thread seating, then run a 100-position tray test with a dummy needle to catch any pocket that binds. Agilent’s published consumables data, including the vial and cap compatibility tables, is the reference I check against: Agilent chromatography consumables and columns.
Thermo and CTC-style autosamplers
CTC PAL family instruments and their Thermo-branded equivalents use a different tray and gripper design, and some configurations are more sensitive to cap OD because the gripper jaws close on the cap rather than the vial body. A cap that is 0.2 mm oversize can still pass on an Agilent tray and fail on a PAL gripper. If you run both platforms, qualify to the tighter of the two. Thermo publishes sample handling and vial geometry data through its chromatography consumables pages: Thermo Fisher chromatography and sample handling.
HPLC inlets and autosampler needles
On the LC side, the relevant interface is the autosampler needle and the injection port. The closure has to present a septum that the needle can pierce cleanly at the instrument’s penetration depth, and the cap must not interfere with the needle guide. A pre-slit septum changes the puncture force and the reseal behavior, which matters for HPLC vial closures on instruments that run hundreds of injections per tray. Check the needle penetration depth against the septum seat depth, not against the cap height.
A dimensional checklist you can run at goods-in
This is the checklist I use. It takes about twenty minutes per lot and catches the failures that certificates of analysis miss. Print it, tape it to the bench, and record the numbers, because a lot that passes today is the baseline for the complaint you file next quarter.
| Check | Method | Acceptance (typical) | Failure signature if out of band |
|---|---|---|---|
| Assembled cap OD | Caliper, 10 caps, widest point | Within ±0.15 mm of nominal; spread < 0.2 mm | Vial rides high in tray, gripper misgrip, “vial not found” |
| Assembled height | Caliper, 10 caps, base to septum top | Within ±0.2 mm of nominal | Short-stroke error, needle guide foul, tray lid contact |
| Thread engagement (screw) | Thread gauge; count turns to seat | Seats in specified turns; no bottom-out | Leak, loose cap, septum not compressed |
| Neck ring diameter (crimp) | Go/no-go gauge | Within drawing tolerance | Loose crimp, vial drop, leak on pressure test |
| Septum seat depth | Depth gauge, cap on vial | Matches instrument needle depth spec | Short reach, air sampling, bent needle |
| Puncture force | Force gauge, first and 50th puncture | Consistent; reseals without coring | Coring, needle bend, lost sample |
| Tray fit test | Full tray, dummy needle, 100 positions | Zero binds, zero misgrips | Intermittent faults at specific positions |
The puncture force row is the one most people skip. A septum that takes 8 N on the first puncture and 14 N on the fiftieth is telling you about its reseal behavior and its tendency to core. On a 10 µL syringe that force differential translates into needle deflection, and deflection into a bent needle and a missed injection. I check first and fiftieth puncture on every new septum lot.
Where the stack goes wrong: two field cases
Case 1: the intermittent tray fault on a 7693A
Symptom: a 7693A threw “vial not found” errors at random positions, roughly one in sixty injections, always on the outer ring of the tray. The instrument had run clean for months. The measurement that identified it: I pulled ten vials from the current tray and measured assembled cap OD. Mean was nominal, but the spread was 0.35 mm, and the top of the range was 0.3 mm over nominal. The outer tray pockets were the tightest after wear. The fix: switched to a cap lot with a 0.15 mm spread and re-qualified with a 100-position dummy-needle run. Errors stopped. The certificate of analysis had reported mean OD only, which is exactly the number that looked fine.
Case 2: the short-reach sampling error on a PAL
Symptom: a CTC PAL running 150 µL insert vials gave RSD of 4.8% on a method that had historically run at 1.2%. No instrument fault, no error message. The measurement that identified it: I measured septum seat depth on the current cap lot against the previous lot and found the new caps sat 0.6 mm deeper. On a short insert, that put the needle tip above the liquid on the low-fill vials. The fix: reverted to the previous closure geometry and added septum seat depth to the goods-in checklist. RSD came back to 1.3%. This one is nasty because nothing alarms; the data just quietly degrades.
Both cases share a pattern: the failing dimension was not the one on the certificate, and the symptom pointed at the instrument when the cause was the closure. That is why the checklist measures assembled geometry, not component geometry. For the analytical side of verifying that a fix actually fixed the data, the method-validation and RSD work belongs with analytical testing.
Matching closures to inlet and method conditions
Autosampler fit is one half of the problem. The inlet is the other. A closure that mates perfectly with the tray can still fail at the injection port if its septum is wrong for the temperature and pressure the method runs at.
GC split/splitless inlets
At inlet temperatures of 250 to 300 °C, a silicone septum bleeds and a low-quality one cores. The closure has to hold the septum flat and compressed against the inlet seal. A crimp that is set shallow lets the septum relax under thermal cycling, and you get bleed spikes that look like column contamination. Check the crimp against the inlet’s septum nut torque, and check the septum’s temperature rating against the method. The U.S. EPA SW-846 methods, which many environmental labs run, specify inlet conditions that push septa hard: U.S. EPA SW-846 test methods for waste and materials. If your method follows SW-846, match the septum rating to the highest inlet temperature in the method, not the average.
HPLC injection valves
On the LC side the pressure at the injection valve, often 400 to 600 bar on modern UHPLC, loads the septum and the cap seal. A screw cap that is under-torqued leaks at pressure; an over-torqued one cracks the cap or deforms the septum. I torque screw caps to the manufacturer’s spec, typically in the 0.8 to 1.2 N·m range for 9 mm caps, and check with a torque screwdriver on the first ten of a lot. For method context and troubleshooting references on the LC side, Restek’s technical library is a good cross-check: Restek technical resources for chromatography.
What to specify on the purchase order
Most compatibility failures trace back to a purchase order that specified a catalog number and nothing else. The catalog number describes the nominal part; it does not commit the supplier to the tolerance band your instrument needs. Put the dimensions on the PO.
- Assembled OD with tolerance and maximum spread across the lot.
- Assembled height with tolerance.
- Neck finish by drawing or standard reference (GPI thread designation for screw caps, crimp neck ring spec for crimp caps).
- Septum seat depth with tolerance, referenced to the instrument’s needle penetration spec.
- Puncture force at first and fiftieth puncture, with a maximum.
- Lot sampling plan and the dimensions the certificate must report (mean and spread, not mean alone).
If you buy across multiple instruments, specify to the tightest tray and gripper in the fleet. A closure that fits the tightest platform fits the rest. The reverse is not true, and the cost of discovering that on a production tray at 2 a.m. is higher than the price difference between a tight-tolerance lot and a loose one. The full closure range and dimensional data live at vial closures.
The decision rule
Measure the assembled closure, not the component, and qualify it against the named instrument’s tray bore, gripper geometry, and needle penetration depth. If the assembled OD spread exceeds 0.2 mm, the assembled height varies more than ±0.2 mm, or the septum seat depth is off by more than 0.3 mm from the instrument’s spec, reject the lot regardless of what the certificate says. Everything else in closure selection is downstream of that rule.
References & further reading
Related resources from our lab consumables network:
- Vial Closures at vialclosures.com
- Analytical Testing at labanalyticaltesting.com
- Chromatography Vial at chromvials.com
- Hplc Vial at hplcvialfactory.com
External references and standards: